Back in the day, when recording was distinctly analog, we wouldn’t be writing this article. Then, instruments, vocals and effects would be plumbed through a mixing desk and recorded onto tape.
Desks from the likes of Neve and SSL ruled the day and it’s absolutely true – although somewhat subjective – that analog set-ups offer a warmth and saturation that is still highly desirable today. If money and time is no object and you crave that analog vibe and character then for many this is the way to go.
However for home and budget studios and even many pro set-ups, digital has many advantages –not least that it’s more cost-effective, quicker and is infinitely more controllable. Perhaps most importantly, it means top notch recording quality can be achieved on even the most modest of budgets.
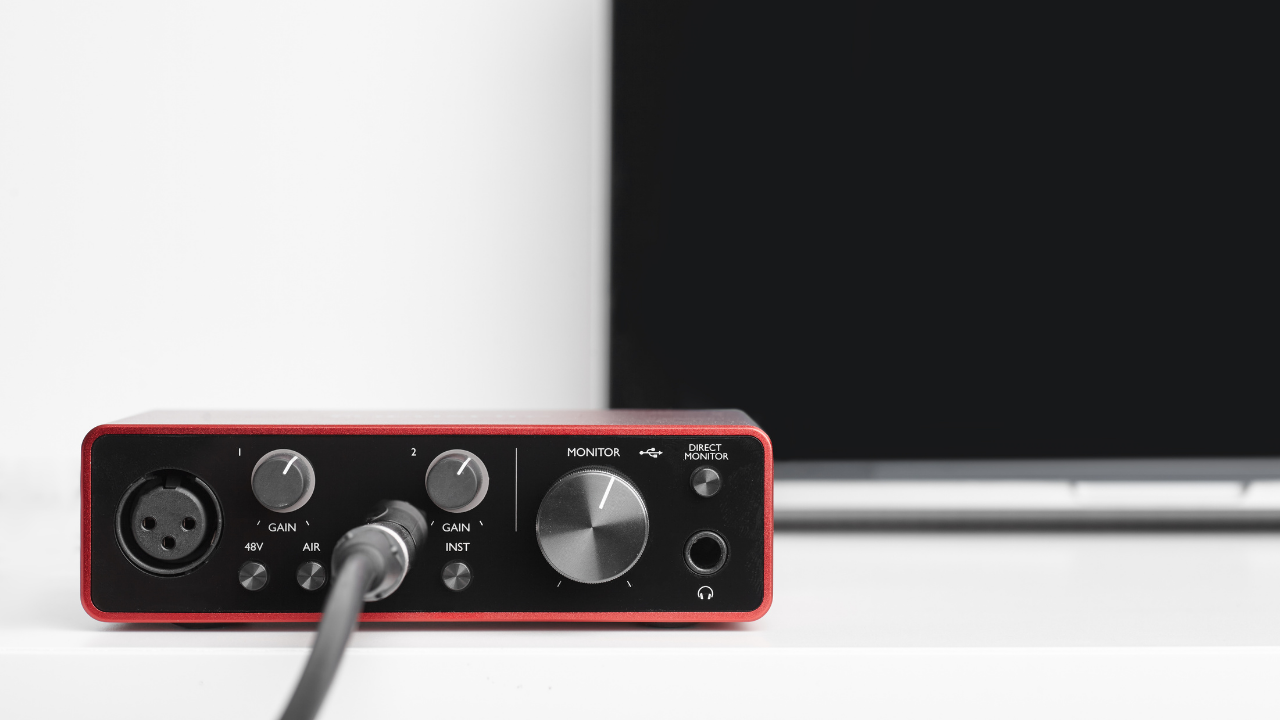
So an audio interface is one of the first things you’ll need to consider. Why? Because it enables you to get stuff into your recording software; it enables you to hear (monitor) what you’ve recorded; and it converts an analogue signal into digital allowing it to be processed by your digital audio workstation (DAW).
There’s a ton of choice out there. That’s why we’ve created this definitive article. Read on to help you choose the best audio interface for your needs.
More about why you need an audio interface
We’re going to assume that your objective here is to be able to record, sonically manipulate and then play back multiple instruments (and vocals) via recording software?
Truth is, whilst computers/devices/tablets do have sound cards built in, they’re very limited both in terms of sonic quality and connectivity. Consequently they’re OK for consumer grade stuff but inadequate for anything approaching professional quality.
So an audio interface is a convenient way of getting inputs – guitars, microphones, synths, vocals etc – into your DAW and then listening to the result back via monitors or headphones.
Budget
Always a good starting point!
For pro studios this may be less of a priority but since most of us are on a budget, price is a primary consideration.
Fortunately, with audio interfaces, you can get decent quality at the budget end of the market. We’ve mentioned some notable brands earlier in this article and the objective should always be getting what you need for the best price.
Cheap isn’t always better but there’s little point paying for 24 inputs if you don’t need them. Think about what you need and start from there.
Connectivity
Generally, audio interfaces connect to PCs/Macs via USB, Thunderbolt or Firewire, but now iPad/iPhone users can get a piece of the action via the new USB 3.0 camera connector. The old camera connector cable allowed you to connect a USB device (like an audio interface) to your iPhone/iPad. The downside was however that as soon as you plugged a device into it, the result was rapid battery drain.
The new USB camera adaptor cunningly also features a Lightning port – which means you can charge your iPad/iPhone while running devices off it. Ingenious.
In terms of instruments/mics – different instruments have different input methods and you’ll need to consider your own specific needs. For example, microphones typically use XLR connectors so you’ll need to make sure the interface you buy has enough XLR inputs.
Similarly, if you’re a guitarist or keyboard player (and not mic’ing up a cab or combo), you’ll need something to plug your instrument into so make sure you have enough ¼” jack inputs. Same story with MIDI. If you exclusively use plugins from within your DAW you won’t need MIDI in/out connectors, but if you use external synths you’ll probably want to choose an interface with this capability.
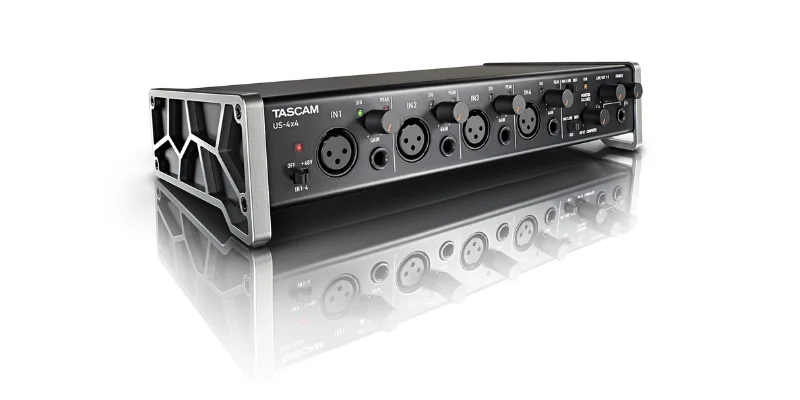
For monitoring, it will depend on your particular set-up. Line outs (from the interface itself) will usually be ¼” jacks but the other end (the speaker end) will either be female XLR or ¼” jack (or both). For example, on my Tascam US-4×4 audio interface, I use two ¼” jack to male XLR cables to connect my interface to my Rokit 6 monitors.
So how many inputs do I need?
Well that depends on what you’re using your interface for and what you may want to do with it in the future.
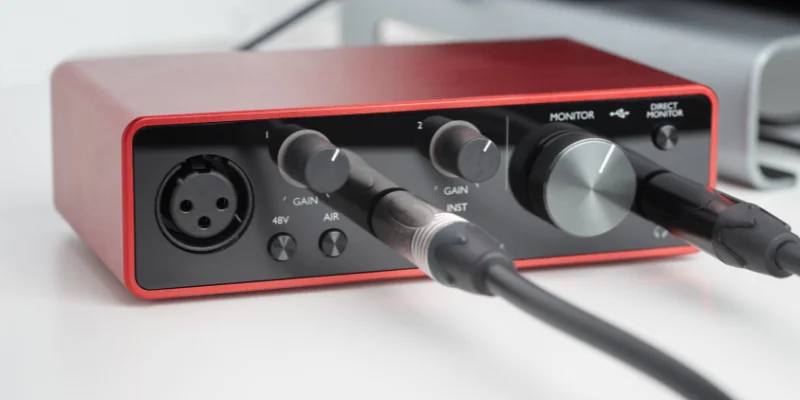
For small home recording set-ups, a USB audio interface with just two inputs may absolutely be all you need. The Focusrite Scarlett Solo for example supports sample rates up to 192kHz and has just two combo XLR/1/4” jack inputs. If you’re just recording a bass, guitar or single microphone for example, this will be just fine. A stereo source, like a keyboard, will need two inputs.
But if you run a more pro set-up and you’re mic’ing up drum kits or using multiple external synths then obviously you need more inputs, so think about what you need and take it from there. Referring again to my Tascam US-4×4, I only ever plug a single mic into it for vocals or a line in for my electric guitar or bass. I’m multi-tracking so I never need these inputs simultaneously.
Think also about the future. Are your circumstances likely to change? Will you be buying external synths or using your interface to perhaps record bands where you’ll need more inputs?
I’ve got a USB mic. Do I need an audio interface as well?
We tend to think of recording set-ups as being quite extensive and complex but of course in their most basic form they’re well…basic!
USB condenser mics are essentially microphones with their own audio interface built-in; you basically plug them into a USB port and away you go. If you’re a solo acoustic guitarist/crooner this may be all you need.
To minimize latency, some higher end USB condenser mics also feature a dedicated headphone output specifically for real-time monitoring during recording.
In theory you could record a duo, small combo or even an entire band this way, although the lack of control – because you’re only using a single mic – wouldn’t be ideal. Even so, this most simplistic of set-ups may be fine for your requirements.
A word (or 568) about latency
Start talking about audio interfaces and it won’t be long before the subject of latency comes up.
To be honest it’s a relatively new phenomenon driven by the popularity of computer-based recording. Analog set-ups don’t suffer from it because it’s a direct connection and there’s no digital sound processing involved.
Plug your guitar into an analog input on a mixer or mic your guitar cab up with an analogue microphone and you’ll hear the output sound directly out of your speakers or headphones with no lag. So what is latency?
Well in basic terms, it’s the delay between plonking a key on your MIDI keyboard or twanging a string on your guitar and actually hearing it played back at you. This delay exists because it takes a certain amount of time to convert say an analog source to digital (A to D) to route into your computer and DAW, and then back again (D to A) so you can hear it through your monitors or cans.
Then there’s other stuff that gets in the way: negotiating with drivers and the operating systems in the computer itself, and then of course there’s the processing by the DAW.
Buffer settings in your system can make a big difference to latency. Think of buffers as processing space your computer needs to process information.
Smaller buffer sizes mean less processing ‘space’ and quicker response but this makes the computer work harder and can lead to audible pops and clicks as it struggles to handle the data quickly enough. Larger buffers increase the amount of data the computer can cope with but may introduce a delay in the process. You hear that lag through the speakers. It’s a bit like lip sync being a bit out on a TV program. That’s latency.
Eliminating latency completely is practically impossible but it can be reduced to a level that’s largely unnoticeable. Few people would notice a 3ms delay, which is a common high performance setting. It’s akin to standing 6ft from your guitar amp.
Once delay gets up to about 10ms and beyond you most certainly will notice it. The delay starts to affect your playing and singing. You’ll experience a noticeable lag between hitting a key on your synth and the sound coming out of the speakers. If you’ve ever endured this – at best it’s annoying, at worst it’s a showstopper.
Finding the balance between latency and the processing power of your computer is key here. A more powerful computer will be better equipped to deal with latency and this is precisely why consumer grade built in soundcards should be avoided like the plague for recording. The latency will be horrendous.
Fortunately, most modern, decent audio interfaces have functionality called Direct Monitoring which enables the user to listen to the input signal of the interface with near zero latency. They achieve this by taking the input signal on the interface and sending it straight to the headphone or speaker outputs on the device bypassing the computer.
The signal is also routed to your DAW so it can be recorded. Direct Monitoring controls the mix between the two. You absolutely must have this feature on any audio interface you buy to negate latency.
The other latency buster – and this is generally the case for anything to do with computers – is to make sure you have the latest (and correct) drivers for your audio interface installed.
Phantom power
No this isn’t a flashback to a Scooby Doo movie – we’re talking about condenser mics here.
If you have one, and want to plug it into your audio interface, you’ll need phantom power (+48V). It’s a way of sending electrical current through a microphone cable to activate the capacitor and get the thing to work.
It’s a simple button on most audio interfaces. Just press it and away you go. It only works with XLR to XLR cables and isn’t required on dynamic microphones.
Pre-amps
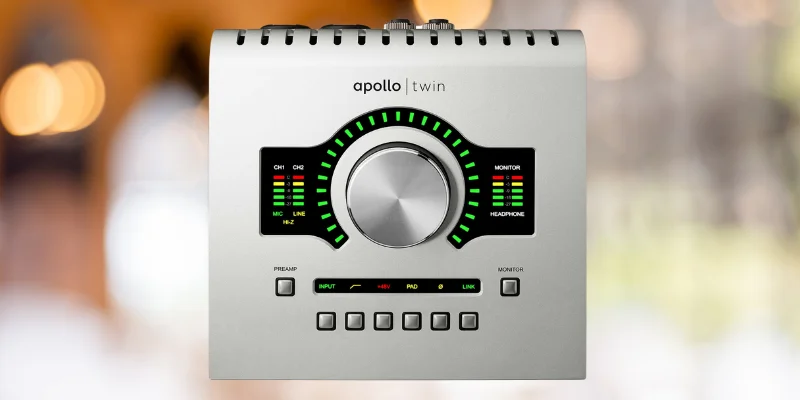
Pre-Amps – also known as ‘mic pres’ are an important aspect of audio interface design and operation because they amplify low level signals to line level, giving a much needed boost to guitars, microphones and synths so they’re at a decent level for recording.
Essentially, we’re applying gain here – and that means noise – so it’s important to have decent, low noise high quality pre-amps. At the budget end, pre-amp performance is perfectly good enough for recording at home. As you move up the quality chain, pre-amps can get very expensive, tend to be external units and have their own distinctive ‘character’.
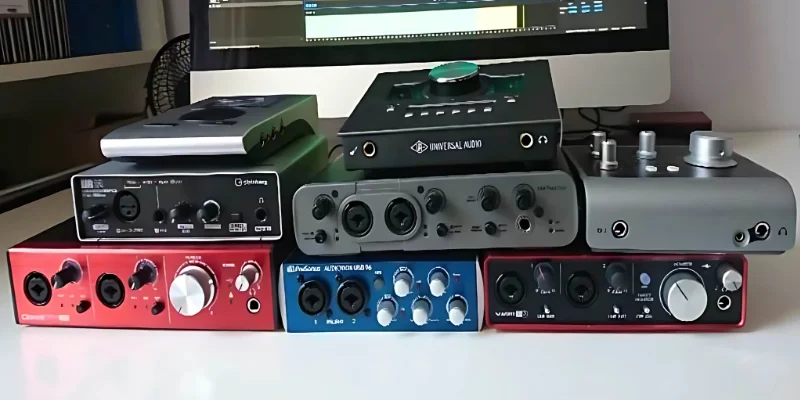
Look for units from established experts in the field like Focusrite, Tascam, Audient, Mackie, M-Audio, PreSonus and Universal Audio and you shouldn’t go far wrong.
Sample Rate and Bit Depth
Most audio interfaces worth their salt offer a range of sample rates: 44100Hz; 48000Hz; 88200Hz; 96000Hz, and bit depths of 16/24 but what does this stuff mean?
Let’s start with bit depth. Usually, there’s a choice here: 16-bit or 24-bit and we’d advise you opt for 24. The more bits, the greater the headroom when recording or put another way, the greater the ability to record ‘hot’ signals without clipping.
Higher bit rates also offer a quieter noise floor which means you can record at quieter levels without introducing noise. 16-bit is good; 24-bit is better.
The sample rate is a little less clear cut. Think of frame rates in a movie or playing a computer game. It’s how many ‘still’ shots are taken per second to produce a moving film. The higher the frame rate, the smoother the picture and it’s the same principle with sample rates in audio recording.
So a sample rate of 44100Hz (or 44.1kHz) means that 44,100 audio snapshots of the audio wave are taken every second. Scientifically, the higher the sample rate, the better the quality of the recording. That’s a fact.
But it’s really not that simple. The rub is that the higher the sample rate you record at, the more information you’re capturing and the bigger the file size. It also means your computer has to work much harder to capture the required number of samples – or more fundamentally, your computer may simply not be powerful enough.
Another important point is that today, the standard for audio delivery for MP3s, CDs, Spotify, etc. is 44100Hz. That may change in the future, but that’s where we are now. So even if you record your music at 96000Hz no-one’s going to hear it at that sample rate because the de facto standard is 44100Hz.
Some people will swear blind they can hear the difference recording at higher sample rates even when mixed down to 44100Hz. If that’s you and you have the CPU power to handle it then go with what you hear. This whole topic is highly subjective.
But in our opinion, if you’re new to all this, stick with 44100Hz and 24-bit. The much larger file sizes and higher CPU strain are not worth the (arguable) marginal increases in sound quality, especially as you’ve got to mix down at 44100Hz anyway.
Note: if your audio is going to end on DVD, you’ll need to record at 48000Hz.
We’d also like to emphasize that recording at 44100Hz captures frequencies up to 22000Hz. The limit of human hearing is around 20000Hz.
Let’s wrap this up…
The good news is that there’s an audio interface out there for any wallet and even budget products are very good in terms of value for money and functionality.
This video is really informative and will help you get things into perspective.
As you progress in your musical recording career you may want to lash out on more expensive interfaces and preamps that will give you a specific character of sound. Most pro studios do this and will say top end intefaces and preamps are worth every cent.
The old adage that you get what you pay for is true most of the time, but we just want to assure you that even if you haven’t got big bucks to spend, you can get great results with modestly priced equipment. The best audio interface for you is one that meets your requirements and budget.
Sound aside, the key areas when choosing an audio interface are connectivity and inputs. Think about how you’ll connect it to your computer and what you’ll need to plug into it. For most home recording aficionados, a USB audio interface will be just fine.
